Introduction
When it comes to doing any CAD work on our team, it is imperative that all the CAD files and the timelines keeping track of how they were made are neatly organized. This ensures a smooth workflow, facilitates cooperation, and allows for team members to go back and modify any feature of a component or assembly with ease. It also makes parametric design far less of a hassle.
Components
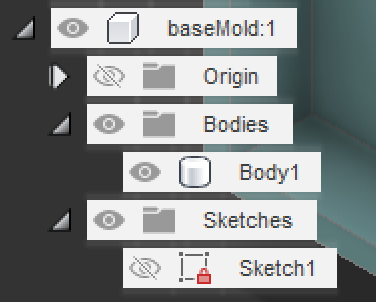
In Fusion 360, a component represents each part or assembly of a design. A component functions as a “folder” that can contain any bodies, sketches, and construction geometries that pertain to a specific part.
Because of how all the files for a part are in one place, a component can be easily exported into other designs, which can be useful in the sense that you don’t have to CAD it again from scratch.
Working on a component
When you work on a component, make sure that it is activated. What that means is that any modifications or additions you do to a component, actually affect that component in particular.
In order to activiate a component, hover your mouse its name in the browser on the left side of the screen, and you will see a white circle appear. Then, click on the white circle and you will see a black dot appear in the middle. Now it is activated.
 unactivated component
 activated component
When a component is activated, all other components will become translucent. This can be annoying at times, and in order to make it easier for you to work on a specific part, you can isolate a component. What this does, is it hides all components in the design, except for itself and any child components.
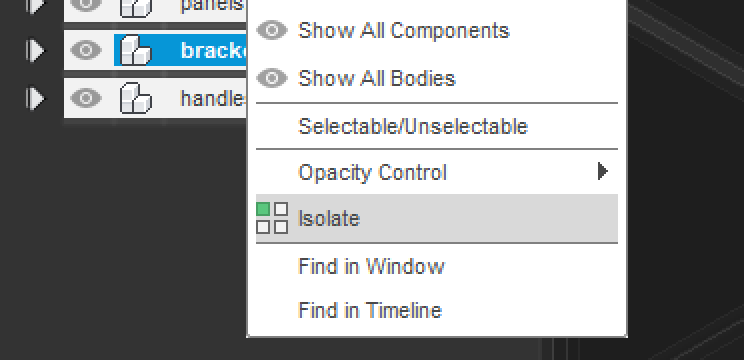 You can access the isolate feature by right-clicking on a component.
In order to make all other components visible again, you can unisolate.
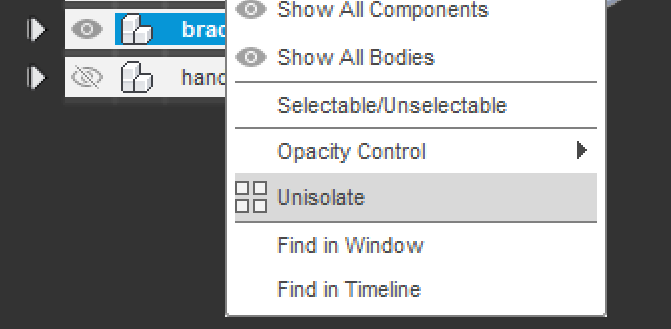 You can access the unisolate feature by right-clicking on a component.
After you unisolate, all other parts may still be translucent. This is because the component is still activated. In order to unactivate the specific part you were working on, activate the highgest level component in the component hierarchy.
Component hierarchies
Much like programming, hierarchies exist within CAD. Components can not just represent individual parts at the indivisible level, but assemblies, and entire robot designs as well. Components can be created/placed inside other components, which can define a parent-child relationship in CAD.
When you create a new Fusion 360 design, you start with a component that takes on the same name as the design you just created. You will create any other component files within it. In order to create a component, there are two methods. The first one is by right clicking the component you want to create a new component inside of and pressing “new component”. The component you want to create a component inside of does not need to be activated for this method.
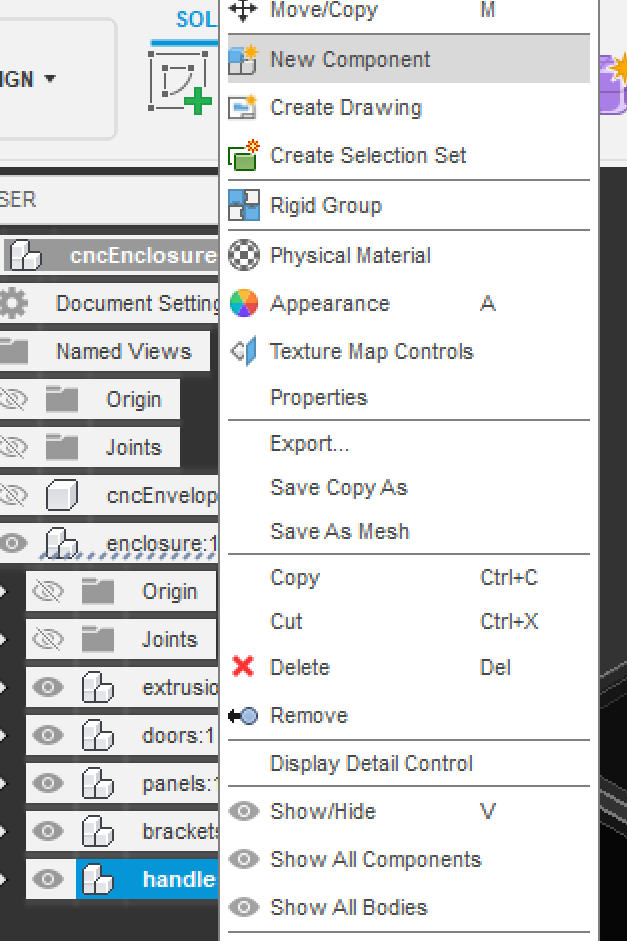
The second method relies on having the component you want to create a new component inside of to be activated. When that is true, you can go to the top of the screen to the create menu and click “new component”.

Component copies
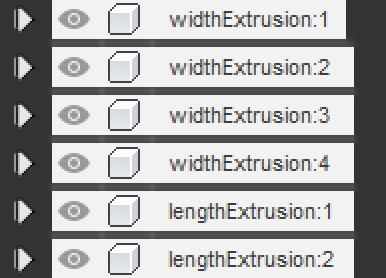
When you need to have multiple copies of a component, you can copy paste them. However, make sure their its component is selected when you do this. Copies of a component have a very interesting relationship. If you modify one of the components, all the other copies of the component will experience that change as well. You can see that components are copies of eachother if they have the same name and are followed by “:#”, where ‘#’ is the number of the copy of the component.